- Home
- Fermented Food Recipes
- Homemade Miso Recipe
Homemade Miso Recipe, Made with Garbanzo Bean Instead of Soy
Intro | Making Miso | About Fermentation | What is Koji? | Fermentation Vessel | How to Make Miso | Miso Recipe | More Tips | Precautions | Shop
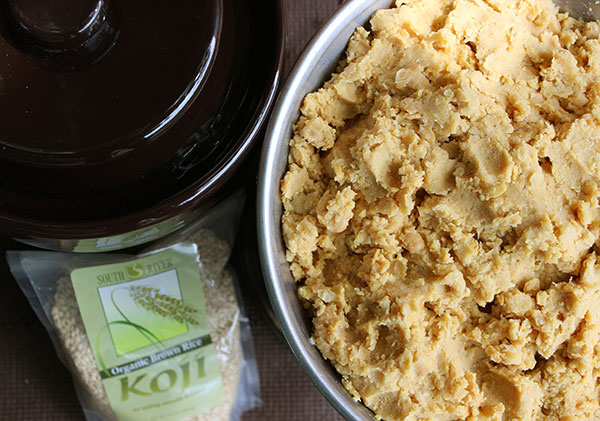
The homemade miso recipe we share below is our basic step by step guide for making miso paste from scratch and culturing it between 6 months to a year. There are many regional styles and traditional ways to make miso and the Japanese are the masters of this ancient fermented food.
Our recipe falls into a category called "new American miso", a modern-day, westernized version using different legumes and sometimes other ingredients not customarily used in Asian cultures.
Table of Contents
Intro | Making Miso | About Fermentation | What is Koji? | Fermentation Vessel | How to Make Miso | Miso Recipe | More Tips | Precautions | Shop
In other words, new American misos are usually not made from age old secret recipes or koji spores passed down through the generations, but are constructed with an open mind to personalized innovation, still retaining basic techniques and standard measurement ratios.
These modern variations are adapted according to the creative influence of the miso maker, fermenting rich and savory pastes that are sometimes more specific to ones distinct tastes as well as health goals.
When we began our miso making journey in 2002, one of the most exciting things we came to realize was that miso can be made from any legume, not just soybean!
After creating our initial one gallon batch using the traditional soybean, we then later began culturing other legume varieties like adzuki, black bean and garbanzo.
Since this first crock of aged miso paste, we typically make one gallon or a 5 liter vessel every year to keep our miso stocked for the following year, ready for use when we need it.
Making Homemade Miso
There is nothing quite like hand-crafting your own homemade paste from a just few simple ingredients: cooked beans, koji and sea salt. The initial process of making and packing your pre-fermented miso is actually quite fast and only takes a few hours at best. The other 99% of the time needed to properly culture it can take anywhere from 6 months to 2 years or much longer, depending on your level of patience.
This recipe can technically be considered a type of "red miso", which is a term
used to define a longer aged paste (at least 6 months) compared to a
"sweet miso" which is only aged between 4-12 weeks.
Learn more about miso and its health-enhancing benefits.
When you make your own misos, you not only get control over the ingredients used but also of the length of this fermentation time.
Studies show that longer ferments impart deeper earthy flavors and can also be higher in health promoting beneficial bacteria, enzymes and nutrients innate to miso, like the detoxifying phytochemical called dipicolinic acid.
Dipicolinic acid is one of the main components in longer aged miso's discovered in the early 70's. It is an alkaloid that specifically helps to chelate heavy metals and radioactive isotopes from the body. It has also been shown that miso's with a longer fermentation time have the most beneficial influence in reducing risk of radiation sickness and are known to be effective for suppressing tumor growth. (Source)
Another good reason to make your own "homemade-style" is that high quality organic commercial miso products, at least here in the U.S., are quite expensive for a very small tub of paste. You can literally make a gallon of it for the same cost as two or three 16 oz containers. If you eat miso on a regular basis, like we do, this can be something to consider.
Fermenting Your Homemade Miso Recipe
Although it might seem intimidating at first to make a large quantity of miso and hope that you do everything right so it will ferment accordingly, it is not really all that complicated and fairly foolproof. It is, however, important to remember a few key factors as far as preparing a, not only edible, but delicious flavor-packed condiment. These simple steps will help to ensure your miso will culture correctly.
- The first thing is to make sure you prepare your pre-fermented miso paste in a clean environment with tools washed in hot soapy water before using.
- The next is to make sure to pack your ferment in a layer of salt on the bottom, sides and top of your bean paste. This helps to protect it from unwanted contaminants.
- The third important factor is to begin the ferment in the colder months not in the heat of summer and store it in a cool dark place that doesn't get too extreme temperature-wise. The best time is in fall or early spring.
- Always remember to never place a tight lid on your homemade miso recipe as gases can build up pressure and cause it to explode. In addition, it is imperative to never use metal pots or equipment to ferment the ingredients because miso causes metallic substances to erode.
Can a Homemade Miso Recipe Go Bad?
It is very rare for miso to spoil or go bad during the fermentation process, but it can happen if not prepared correctly or especially when exposed to high heat temperatures that tend to breed more air borne microorganisms.
The most likely time for this to occur would be at the beginning stages when the pre-cultured miso is more vulnerable with low amounts of lactic acid bacteria to initially protect it. Once the lacto-fermentation process is underway there is considerably less chance of spoilage, the same is true for other fermented foods like sauerkraut and kefir.
How Long Do You Ferment Miso?
Miso takes roughly one year to ferment. However, "miso years" are calculated by the number of summers it has aged. So, if you have gone through one summer of fermentation, then you have one year old miso, technically speaking. We always like to culture ours for at least one complete year or more, to create best flavor and increased nutritional components.
So, for example, a batch started in the spring time we would decant the following spring. This is not required and alternatively you could decant a vat made earlier that year in the fall season, instead of waiting. On average total fermentation time should be at least 5-6 months minimum, unless you are making a sweet miso or other styles, like Natto.
What is Koji?
To make a homemade miso recipe it is necessary to use a koji starter. Koji is like other starter cultures, such as kefir grains or kombucha mushroom, is used to create a lactic acid environment in which beneficial bacteria can proliferate.
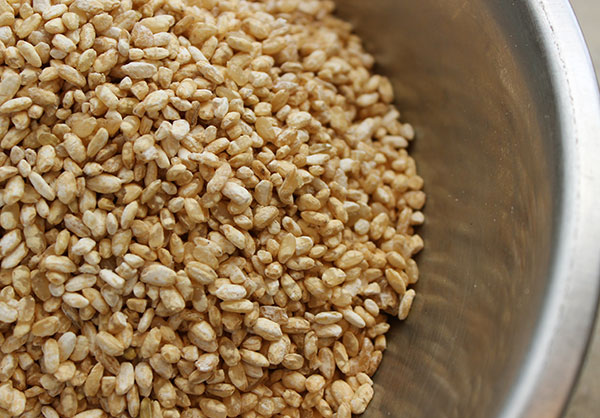
Koji is specifically a grain, like rice, that has been inoculated with Aspergillus oryzae white mold culture. This is a B 12 synthesizing organism that produces lactic acid bacteria, like Pediococcus halophillus and Lactobacillus delbrueckii, which not only cultures the beans but helps to protect the miso from spoilage. It is also used to make amazaké, soy sauce, saké and pickles.
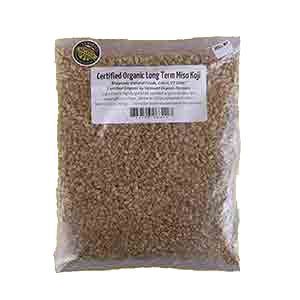
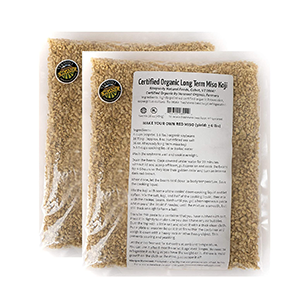
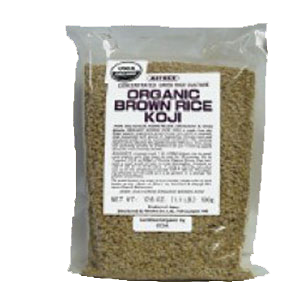
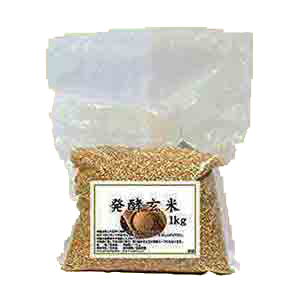
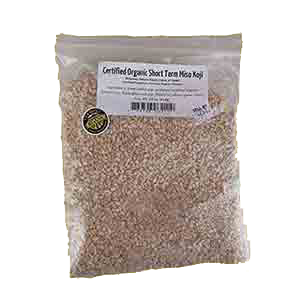
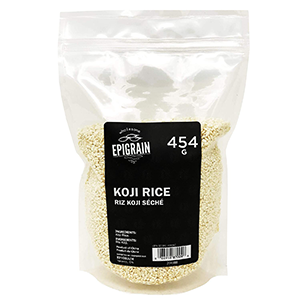
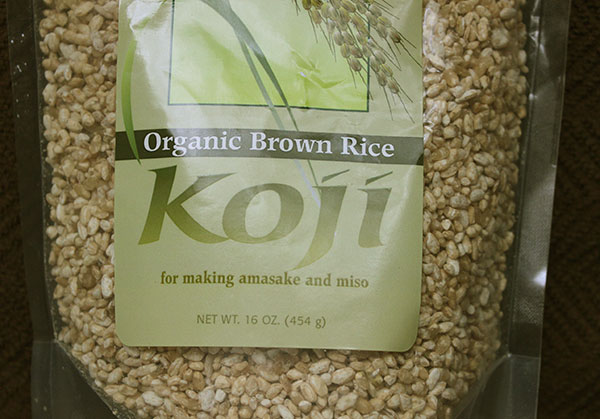
Depending on where you live, koji can be hard to find. We like to purchase organic high quality starter whenever possible and have a few online sources who currently offer it in larger quantities. Two organic brown rice koji brands we use are Mitoku and South River Miso Company. Of course, many different types of koji are widely available in Asian countries and also sometimes Asian food markets.
Can You Make Your Own Koji?
It is possible to make your own homemade koji using a "koji starter" or the Aspergillus oryzae spore powder and a steamed grain, like barley or rice. In the book "The Art of Fermentation", Sandor Katz describes how to make it from scratch stating, "The basic process for koji is soak, steam, cool, inoculate and incubate." The incubation is a 36-48 hour process at 80-95° F (27-35° C).
We have personally not embarked on making homemade koji as of yet because it can be an sensitive and somewhat arduous task. In addition, you wouldn't completely know it was successful until many months of miso fermentation. It is usually more convenient to buy it pre-made and is definitely a more foolproof option for those new to making homemade miso recipes.
Choosing a Fermentation Vessel
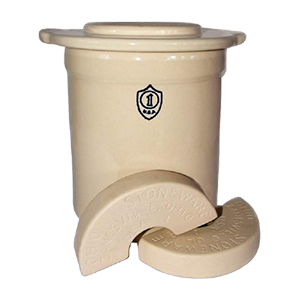
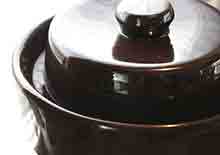
The vessel you choose to ferment your homemade miso recipe can be as simple as a gallon size glass jar and ceramic crock pot or as heavy duty as a professional fermentation vessel. A couple of important things to keep in mind when making your decision is firstly to choose a vat with a wide mouth opening. This is so you can fit a plate or weight on top and its also just easier to pack the ingredients in. Another thing is that you want to stay clear of some ceramic crocks that may have lead or cadmium in the ceramic glaze used because it will eventually leach into your miso.
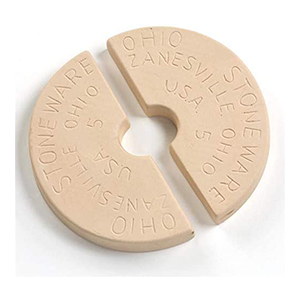
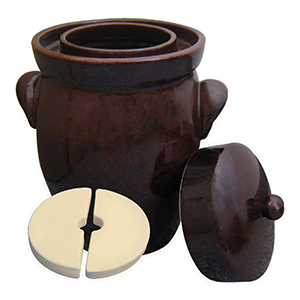
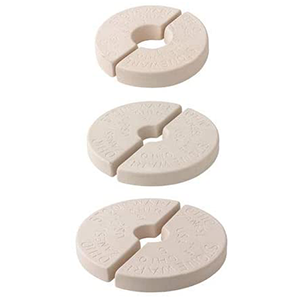
We personally have used glass jars and also have a few 5 liter German-style fermentation vessels, by the brand TSM Products, that come with ceramic weights. Both containers work, but of course the professional grade fermenters are specifically designed to make it easier to successfully create your cultured food. They can also be used to make homemade sauerkraut as well as miso.
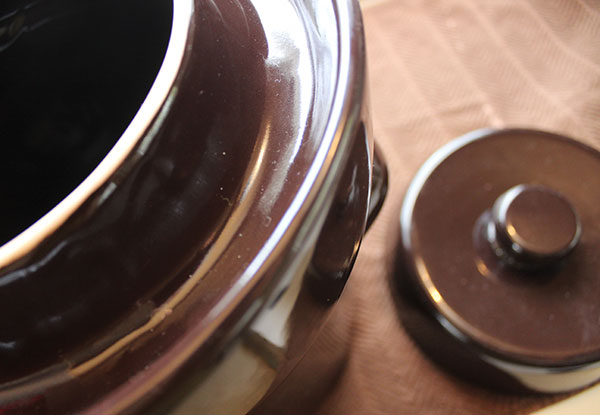
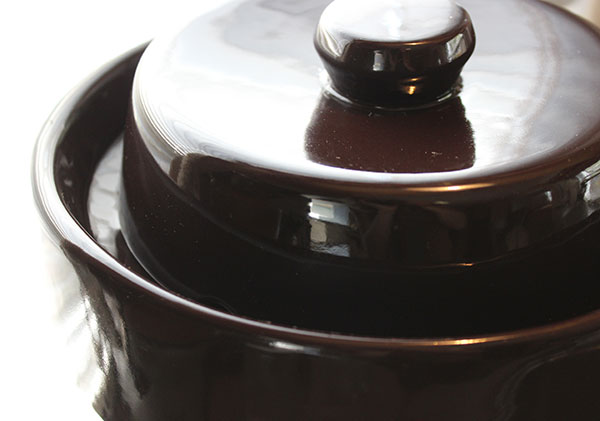
How to Make Miso, Ingredients and Tools
1) First thing is to choose a bean you want to use for your miso. This recipe uses garbanzo bean but you can use others, like black bean, adzuki or experiment with different combinations. You may need to adjust the liquid added as some varieties are moister than others. (See our other miso recipe using black bean.)
2) To culture your miso correctly you need to purchase the koji or Aspergillus oryzae spores. There are a few online suppliers to choose from as koji is harder to find in some countries.
3) You will need a few tablespoons of mature miso starter or also called "seed miso" to help inoculate the lactic acid bacteria and other beneficial organisms. This is basically any unpasteurized miso paste you can get at most health food stores or Asian markets, or you can preferably use some from your own batch, after you've made it.
4) We recommend using a high quality salt, rather than iodized table salt. Celtic sea salt or pink Himalayan rock salt are both great choices.
Tools You Will Need:
- 1 gallon ceramic crock or wide mouth glass jar; or a 5 liter vessel
- Lid or object that fits snugly inside the opening of vessel
- Cheese cloth and/or clean towel for covering the top
- Heavy weight: like a scrubbed rock or fermentation weights
Homemade Miso Recipe
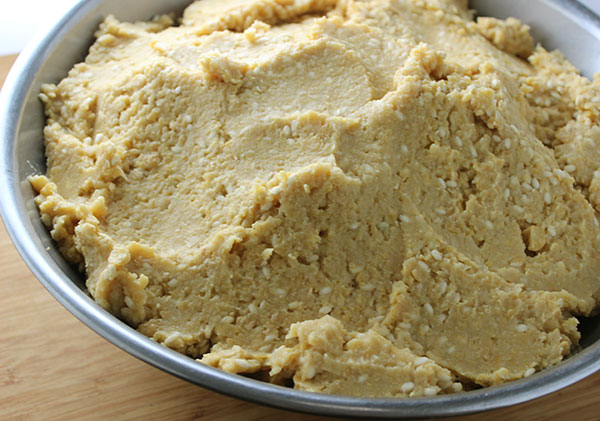
Ingredients:
One Gallon Recipe
- 12 1/2C dry beans
- 6 1/2C koji
- 3 1/4C sea salt
- 2 3/4C bean liquid
- 6T unpasteurized miso
- 1/4C sea salt for crock/top layer
Five Liter Recipe
- 15 3/4C dry beans
- 8C koji
- 4C pink salt
- 3 1/2C bean liquid
- 7 1/2T unpasteurized miso
- 1/4C pink salt for crock/top layer
Directions:
- Soak the beans overnight in pure water.
- Cook until soft.
- Strain and save the bean cooking liquid.
- Allow the beans to drain in a colander for a few minutes then add to a bowl and let cool so they are not steaming hot but still warm for mashing or processing.
- Dissolve sea salt into hot cooking liquid to make a brine.
- Mash the beans by hand or process in a food processor for desired texture, either smooth or slightly coarse.
- Mix the unpasteurized miso paste into the salt brine.
- Combine brine (containing salt and miso) with koji.
- In a big bowl, add processed beans to this brine/koji mixture.
- Add more bean cooking liquid if needed to create a firm thick paste consistency.
This is your non-cultured miso ready to be packed.
Packing and Fermenting Miso
We often do this part while the beans are cooling.
- Wet the sides of the jar slightly with hands dipped in pure water.
- Place some salt inside the side of jar or vessel, put a lid on top and shake it around, coating all sides and bottom of jar or crock.
- Pack the miso into the vessel and with clean hands press down firmly to remove any air space.
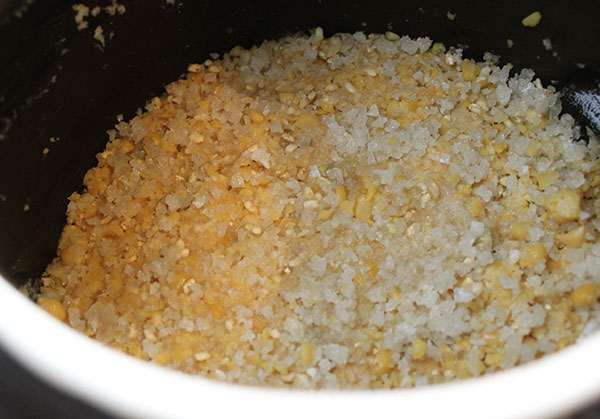
- Spread a generous layer of salt over the top.
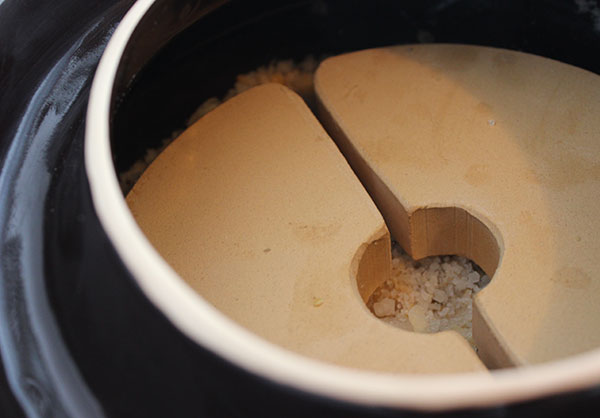
- Place a clean flat non-metallic object over the salt layer and place a heavy weight on top.
- If using an open glass jar, cover it with cheese cloth and a towel with a rubber band to secure it. If using a fermentation vessel, they usually come with lids that protect the ferment but allow gases to escape.
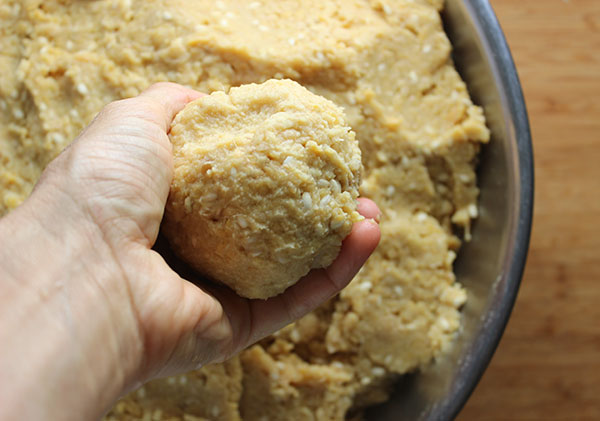 One of the traditional ways to pack miso is by rolling it into balls and throwing it into the crock vessel to avoid any air space.
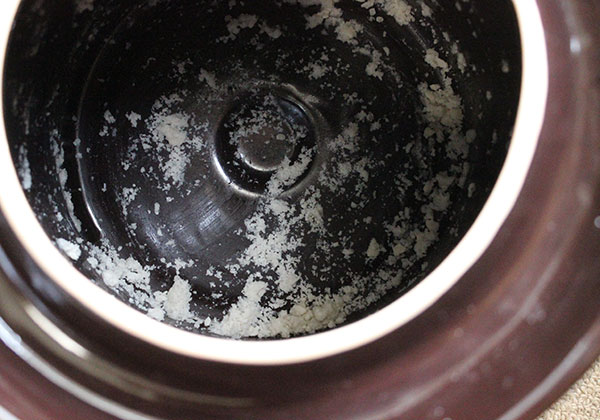 Salting the Vessel
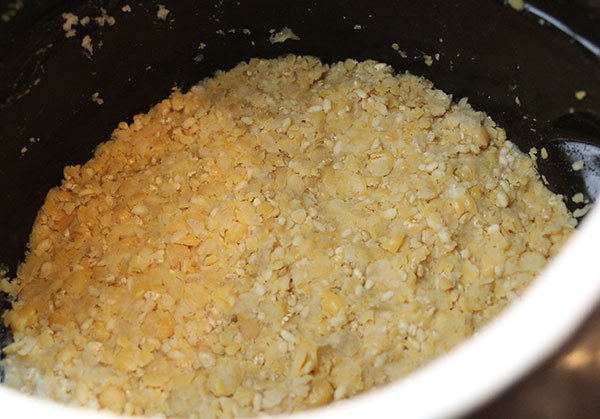
It is important that your miso is packed tightly, free from
oxidation and protected by a layer of salt on top.
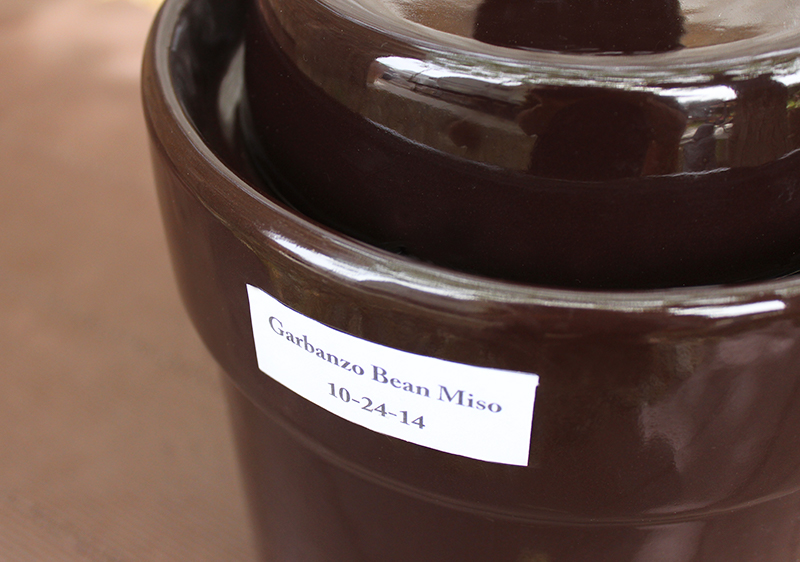
- Label and date your homemade miso recipe.
- Store in a cellar, basement, cupboard or pantry space that is cool and dark.
- Ferment in the cooler seasons and allow to go through one summer before decanting. (For a lot more information on how to tell when your miso is ready and how to remove it from your vessel, visit our page on miso decanting.)
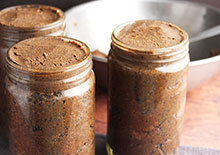
- Remove the cloth, weight and plate, scrap off about 1/2 inch of top layer, below is your cultured miso. It should have a rich and savory aroma, like tamari.
- Store in glass jars with plastic lids in a cool place or refrigerator.
- If your koji is not fully broken down, which sometimes happens with shorter fermentation periods, you can process it in a food processor if desired.
- Celebrate with family and friends... your very first batch of homemade miso!
More Tips When Making Homemade Miso
For the best natural fermentation, it is best to store your miso in an unheated environment, like a basement, garage or isolated pantry location. This allows it to develop with the natural outdoor temperature fluctuations of the seasons.
Like we previously stated, miso years are calculated by the number of summers it has aged. So, if you have gone through one summer of fermentation, then you have one year old miso. You always have the option to continue the fermentation process for another year, or another summer in "miso time." As with fine wine, it only gets better with time!
It is good to prepare a fresh batch every time you decant a cultured one. This insures you always have a back stock for the following year.
Once you become familiar with the basic miso making process, you can get more creative with your homemade miso recipe, adding different grains, seaweeds, vegetables, superfoods as well as other types of beans.
Homemade labeled jars of miso make great gifts to share with friends and family.
How to Use
Remember... the enzymes and nutrient content in miso is affected by high heat, so it is best to add it at the end to soups, broths or other recipes.
Enjoy it as a salt replacement in raw soups, our raw hummus recipe or as a condiment with cooked tempeh.
See our fermented food recipes for more on our top cultured recipes included on the pages of this website.
Precautions:
Consult your health care professional before adding miso to the diet if you are pregnant, nursing, taking any medication or have a medical condition.
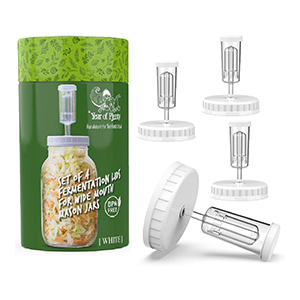
Shop Related Products (About Affiliates & Amazon Associate Paid Links)
Affiliate Disclaimer: This section contains affiliate product links. If you make a purchase through our recommended links, we receive a small commission at no additional cost to you. Thanks for the support.

